
How to take your own newborn photos at home


How to take your own newborn photos at home
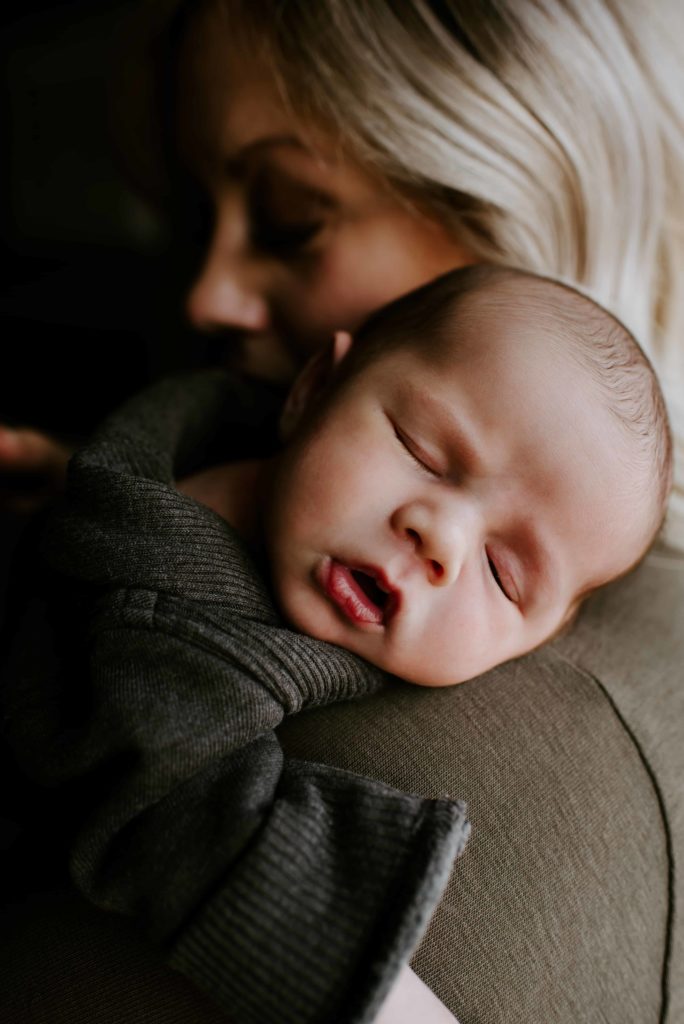
I remember hearing the same advice over and over when I was in the newborn stage with my son. “Enjoy these moments now, they go by so quickly!”. I was sleep deprived, healing from birth, and trying to figure out how to be a new mom and I honestly couldn’t “enjoy every moment”. It took me a while to realize that it was OK that I didn’t love every moment. But in those quiet moments while my precious new baby was asleep on my chest, I would just stare at him in awe. He was so tiny and beautiful. I wanted to remember the way that his tiny little finger wrapped around mine, how perfect his little lips and nose were, and the sweet noises that he made as he slept. Now, when I look back at photos and videos of those first few months, those memories come rushing back.

My top tips to taking your own newborn photos at home
1. Ask your family members to take photos with you and your baby
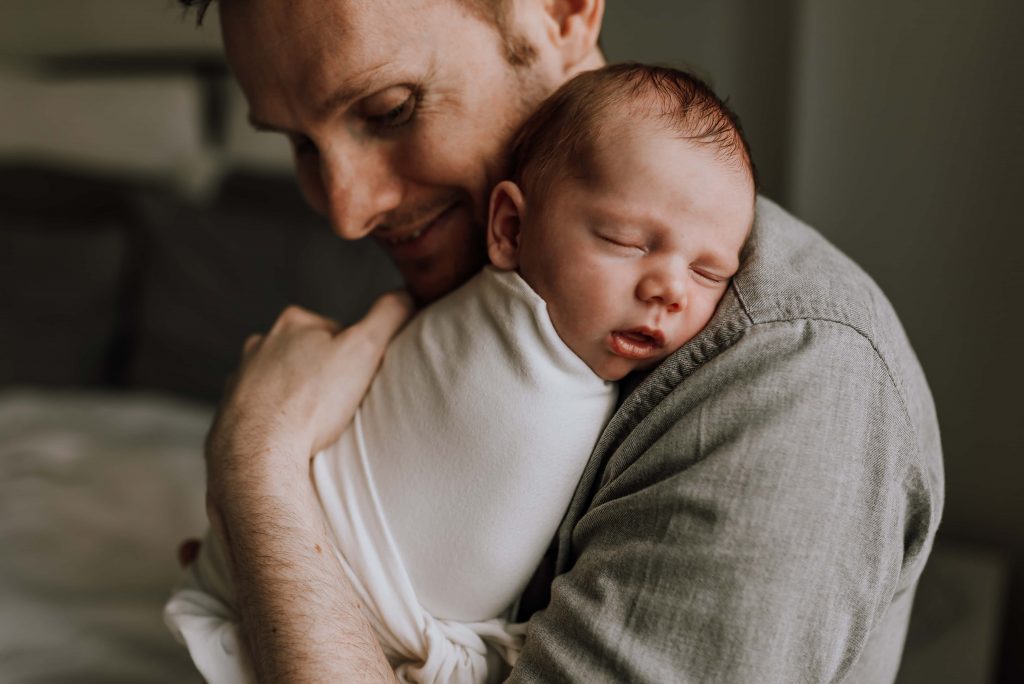
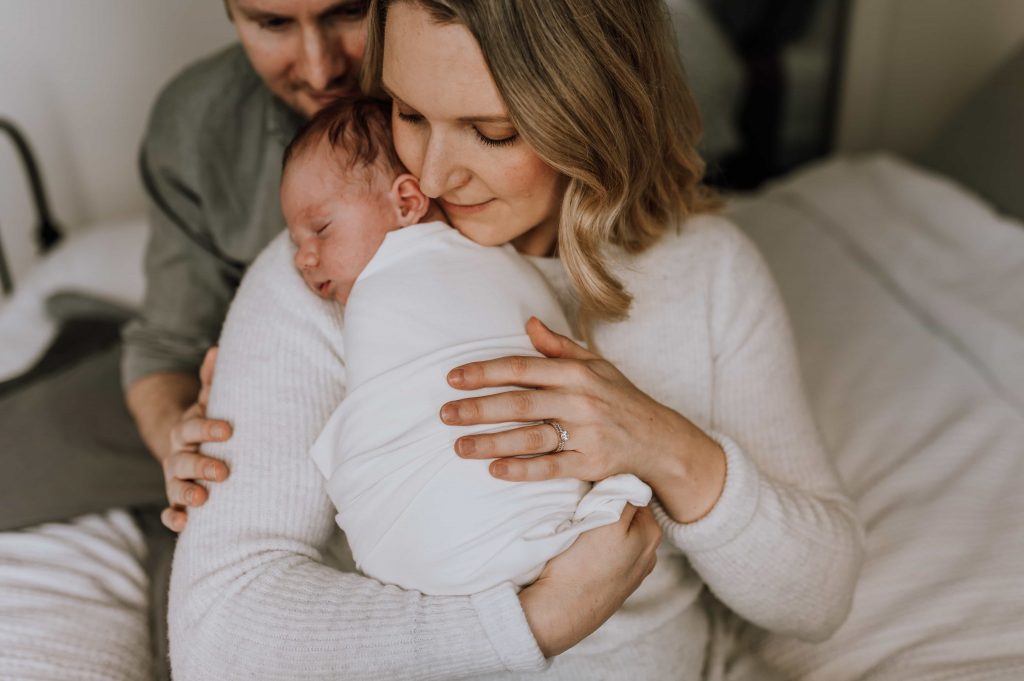
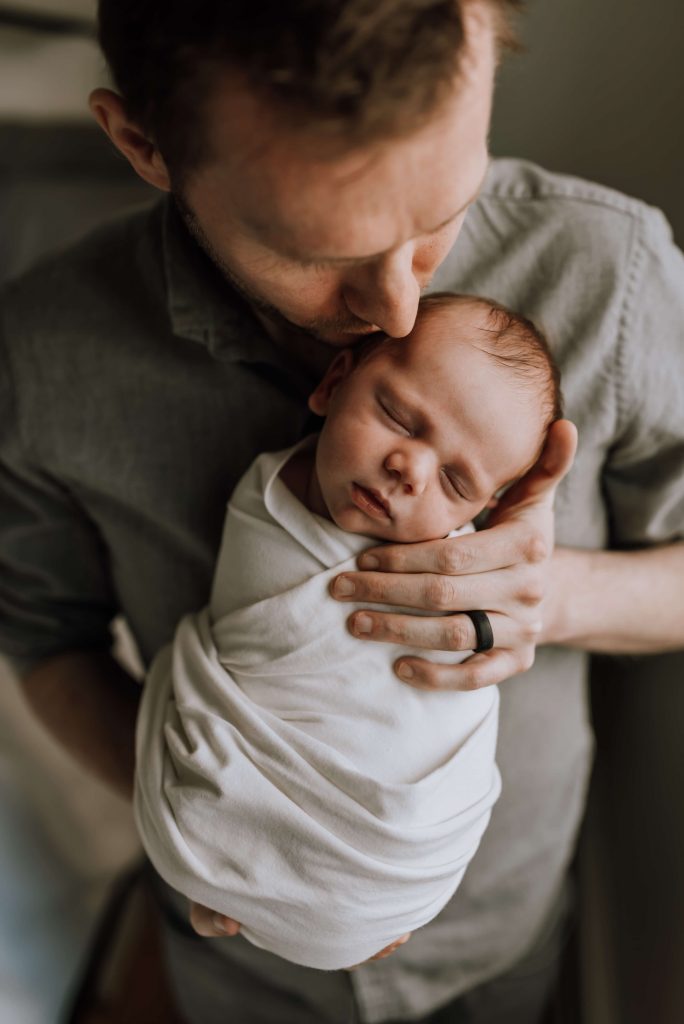
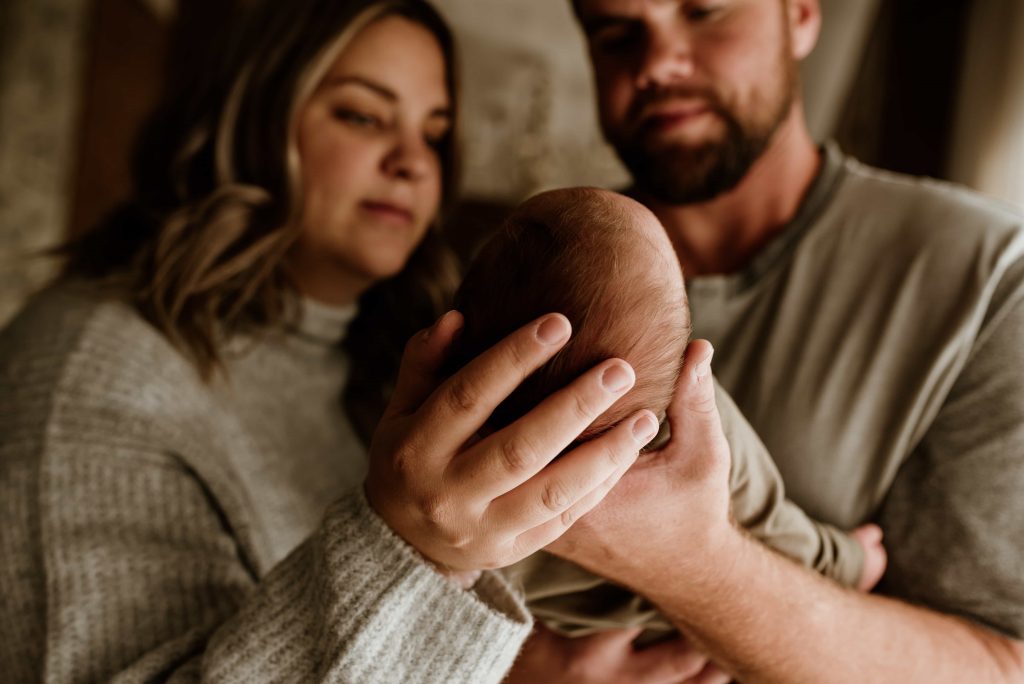
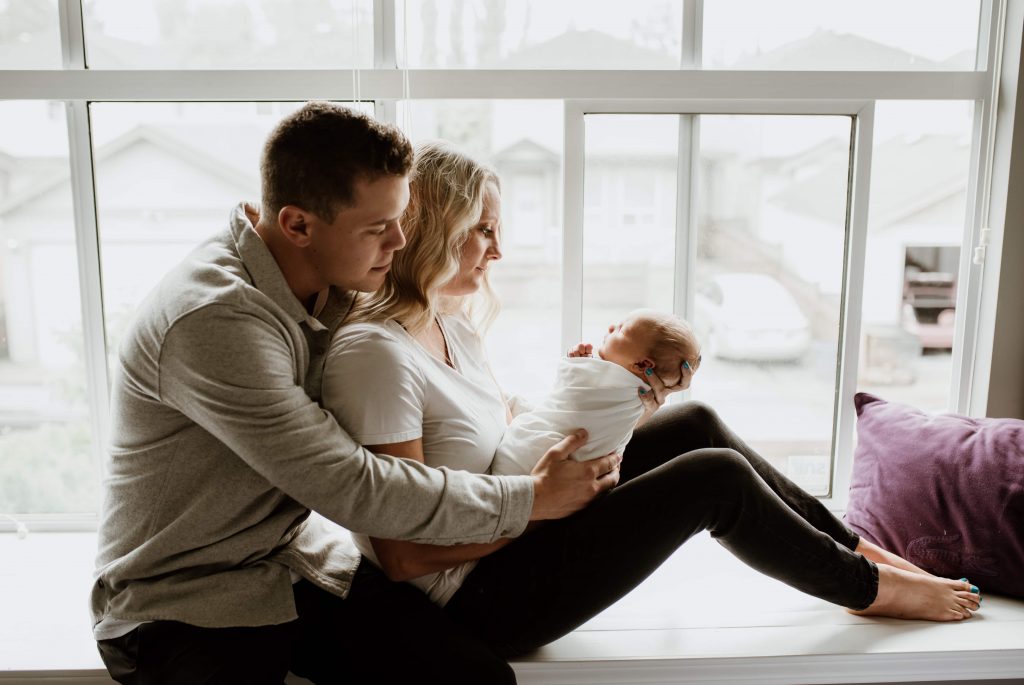
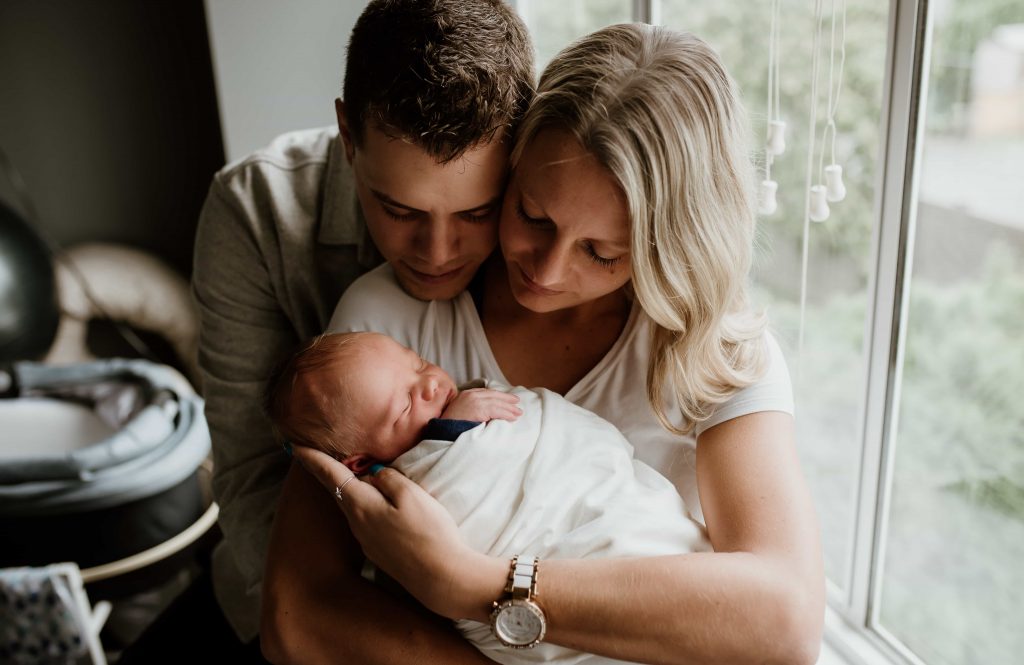
I get it, you are tired and haven’t showered and don’t want your picture taken. I felt the same way. Some of my favorite photos were when my husband captured my little one and I in those real and raw moments. My hair was a mess, I was pale and had no makeup on, but those moments were real and beautiful.
2. Plan ahead and set aside a few hours to take your newborn photos
Pick a time of day that your baby is the least fussy and set aside 1-2 hours to take your photos. There will most likely be multiple interruptions such as diaper changes and feeds, so take your time and take as many breaks as needed.
3. A warm and full baby is a happy baby
If possible, change your little one’s diaper, put them into an outfit that you would like them to be in for their photos, and feed them. Chances are, your little one will be nice and sleepy after the feed and will be more content for photos. You may even need to top them up with a feed during your photos. You may also want to turn the temperature up in your home by a couple of degrees to keep baby warm and cozy. Lastly, a white noise machine may help to keep baby calm and sleepy during all of the movement involved during your session.
4. What to wear for your newborn photos
Take a little bit of time to pamper yourself the morning of your photos. Ask your significant other to be on baby duty while you have a nice bath and do your hair. You want to be comfortable but also feel good about yourself. Check out my blog post here on how to prepare for your newborn photos. There are some great tips on what to wear and ideal color pallets!
5. Enlist another family member or use a tripod
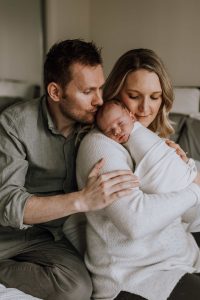
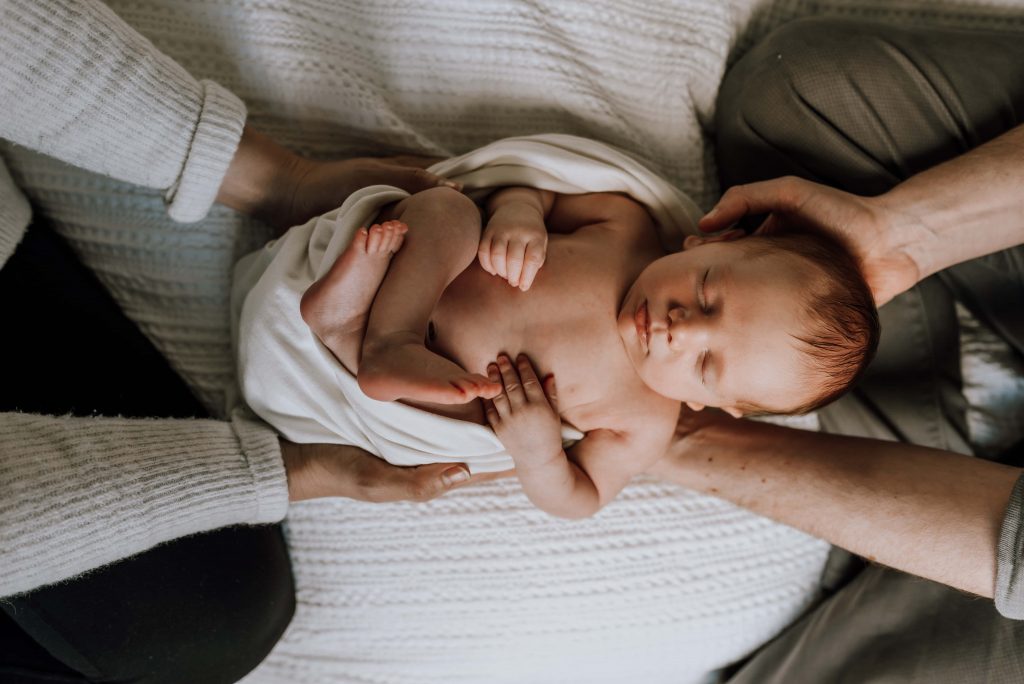
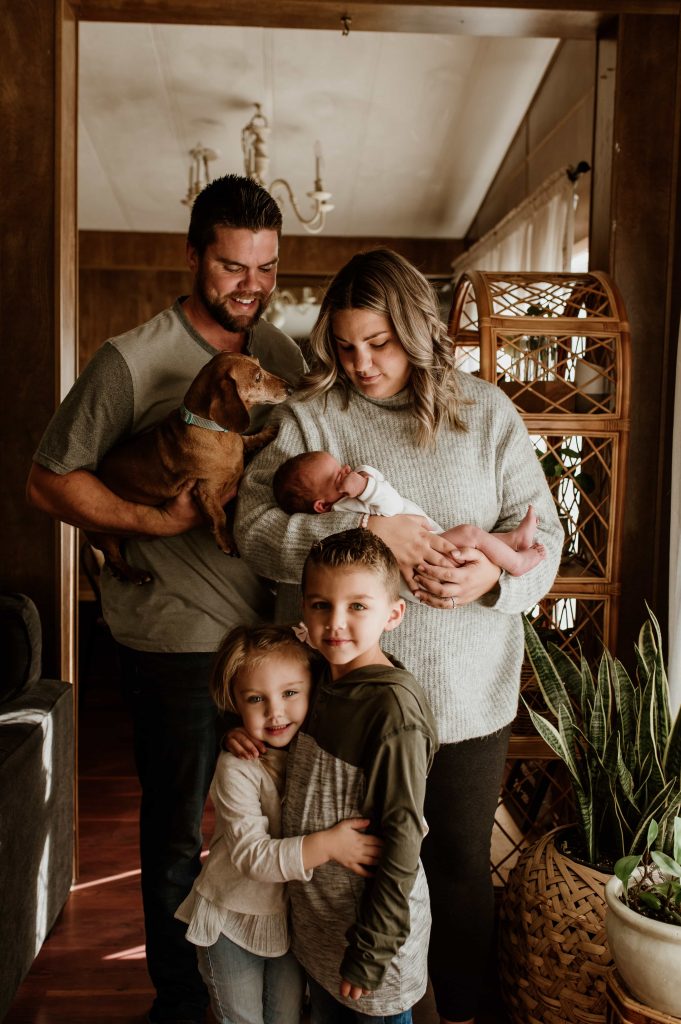
Since I am writing this during the Covid-19 Pandemic, it is important to remember that only those family members who live in your same household should take on this role. If possible, you want to get some photos of your whole family with your new addition. Enlisting a family member such as a Grandparent who lives with you to take photos can be very helpful! If you don’t have this option, use a tripod or rest your phone/camera on a dresser to get a full family photo.
6. Look for the light!
Lighting is everything when it comes to taking photos. I am a natural light photographer, so I suggest turning off every artificial light in the house and use only natural light. This may mean that you cannot take your photos in your nursery if it is very dark. Choose a room with a good size window. I often use the master bedroom, but I have even done an entire session by a small window in the living room!
The best time of day is usually 10am-12pm start time, as there is plenty of light. You want to be sure there is enough light coming in, but that it isn’t overpowering. If the sun is glaring directly into the window, you can use a sheer white curtain to diffuse it, close your blinds, or go to the opposite side of the house.
But what are the best ways to use the light?
- Face the light: Facing your subject’s face towards the light is the most flattering for skin. Take your photo from the side of the window
- Backlight: Have your subject stand in front of a window and aim your camera towards the window

7. Safety
Even when taking your own newborn photos at home, safety is the most important thing to remember. You want to be sure that you are within arms reach of your little one at all times. If you are the one with the camera, make sure to have another family member within arms reach. Do not leave baby unattended.
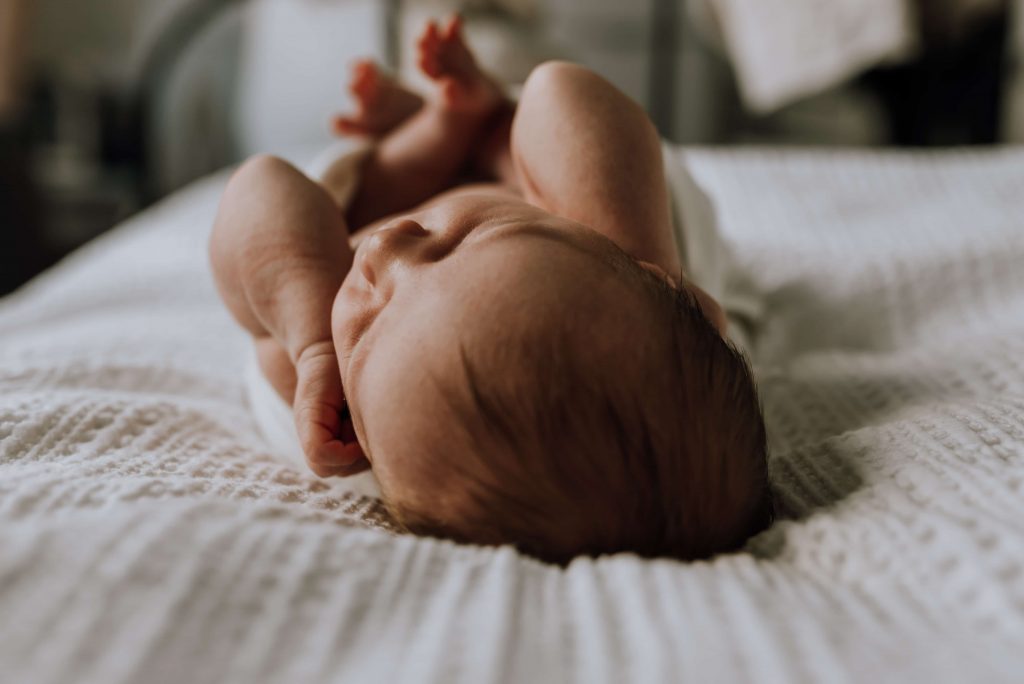
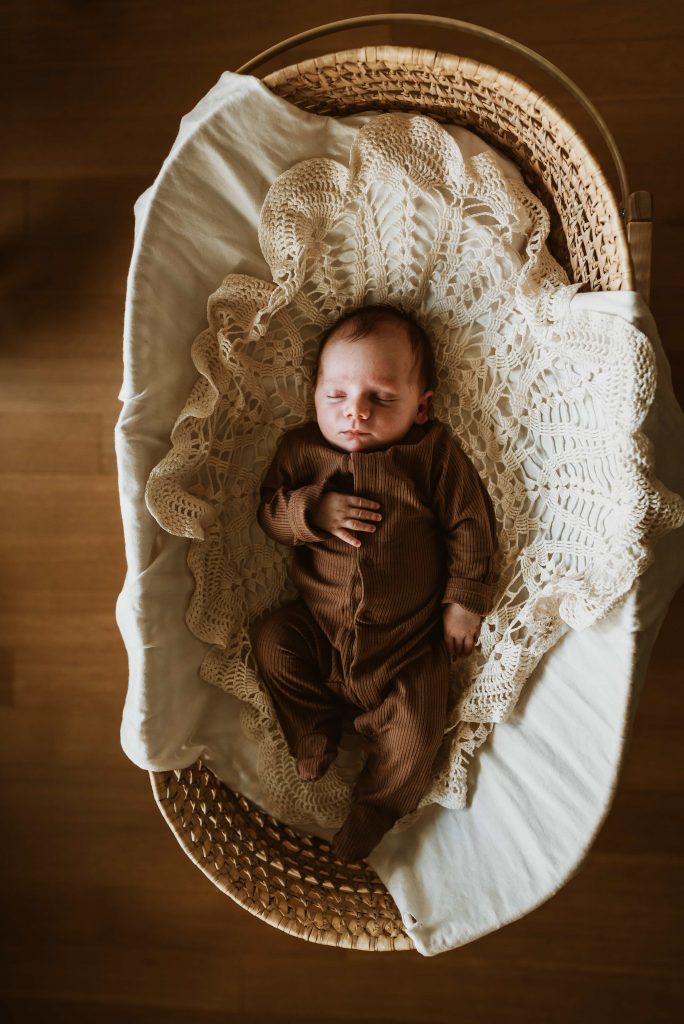
My favorite places to take newborn images are on the master bed, on a blanket/rug on the floor, in their crib/bassinet, or in a family members arms.
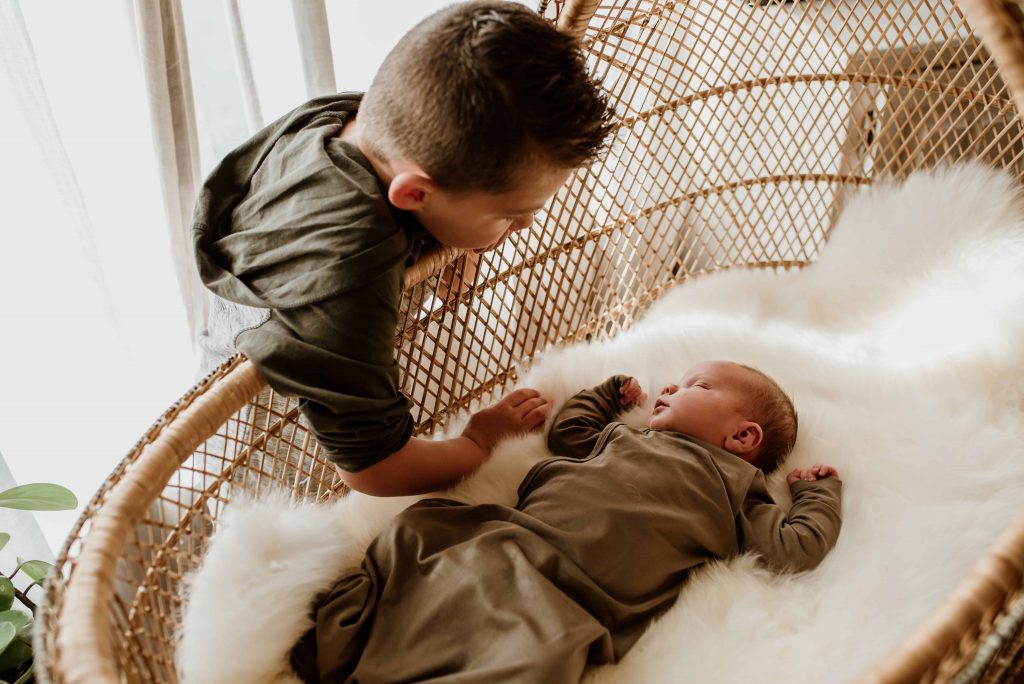
8. Siblings
Don’t forget to include siblings! This will make your older children feel special and involved during a time when the new baby is getting a lot of attention. When taking photos with siblings, I prefer the master bed as opposed to the couch as there is more room and less risk of rolling off. You know your child best. Only allow siblings to hold the newborn if you feel safe doing so. You may need to sit with them or prop a pillow under their arm for support. If they are too young to hold baby, consider laying your baby on the bed and having your toddler look over them, or lay them beside each other and take the image from above.
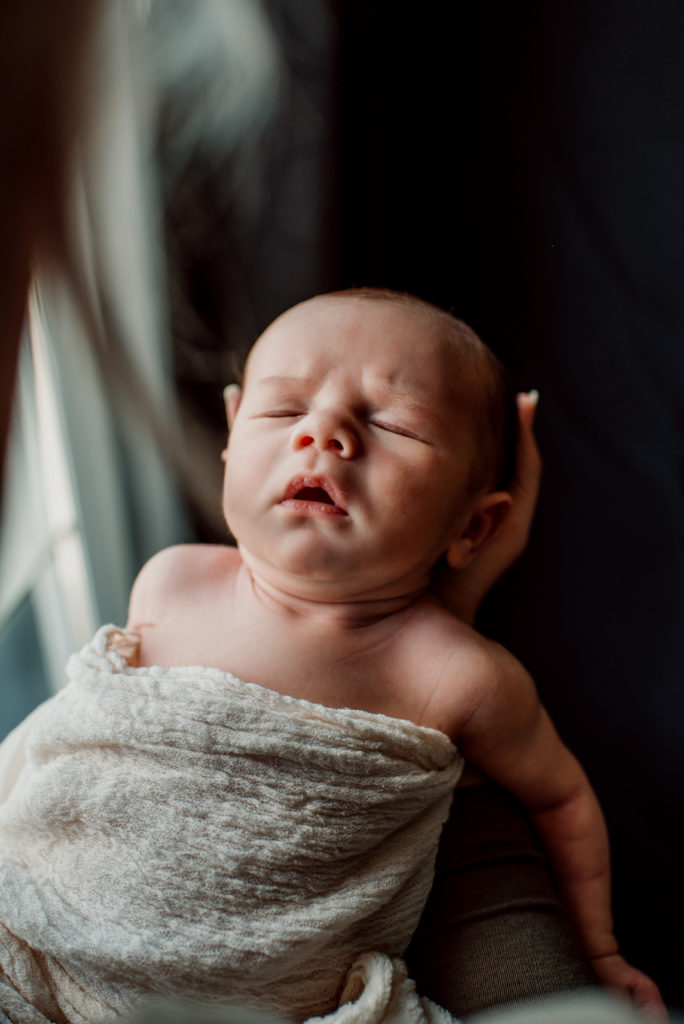
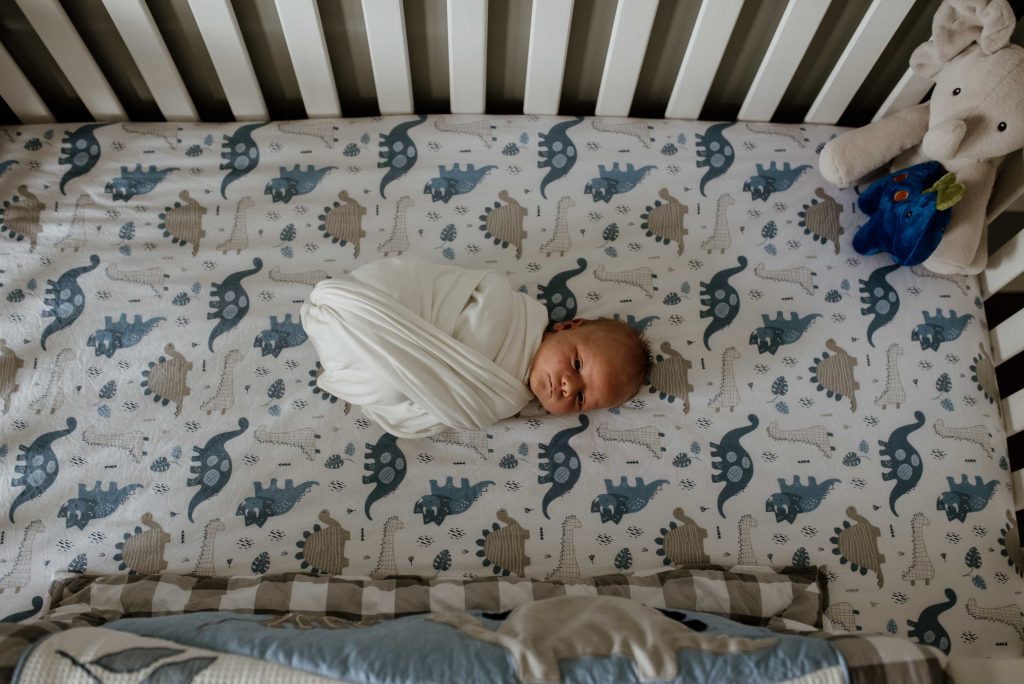
9. Baby only images
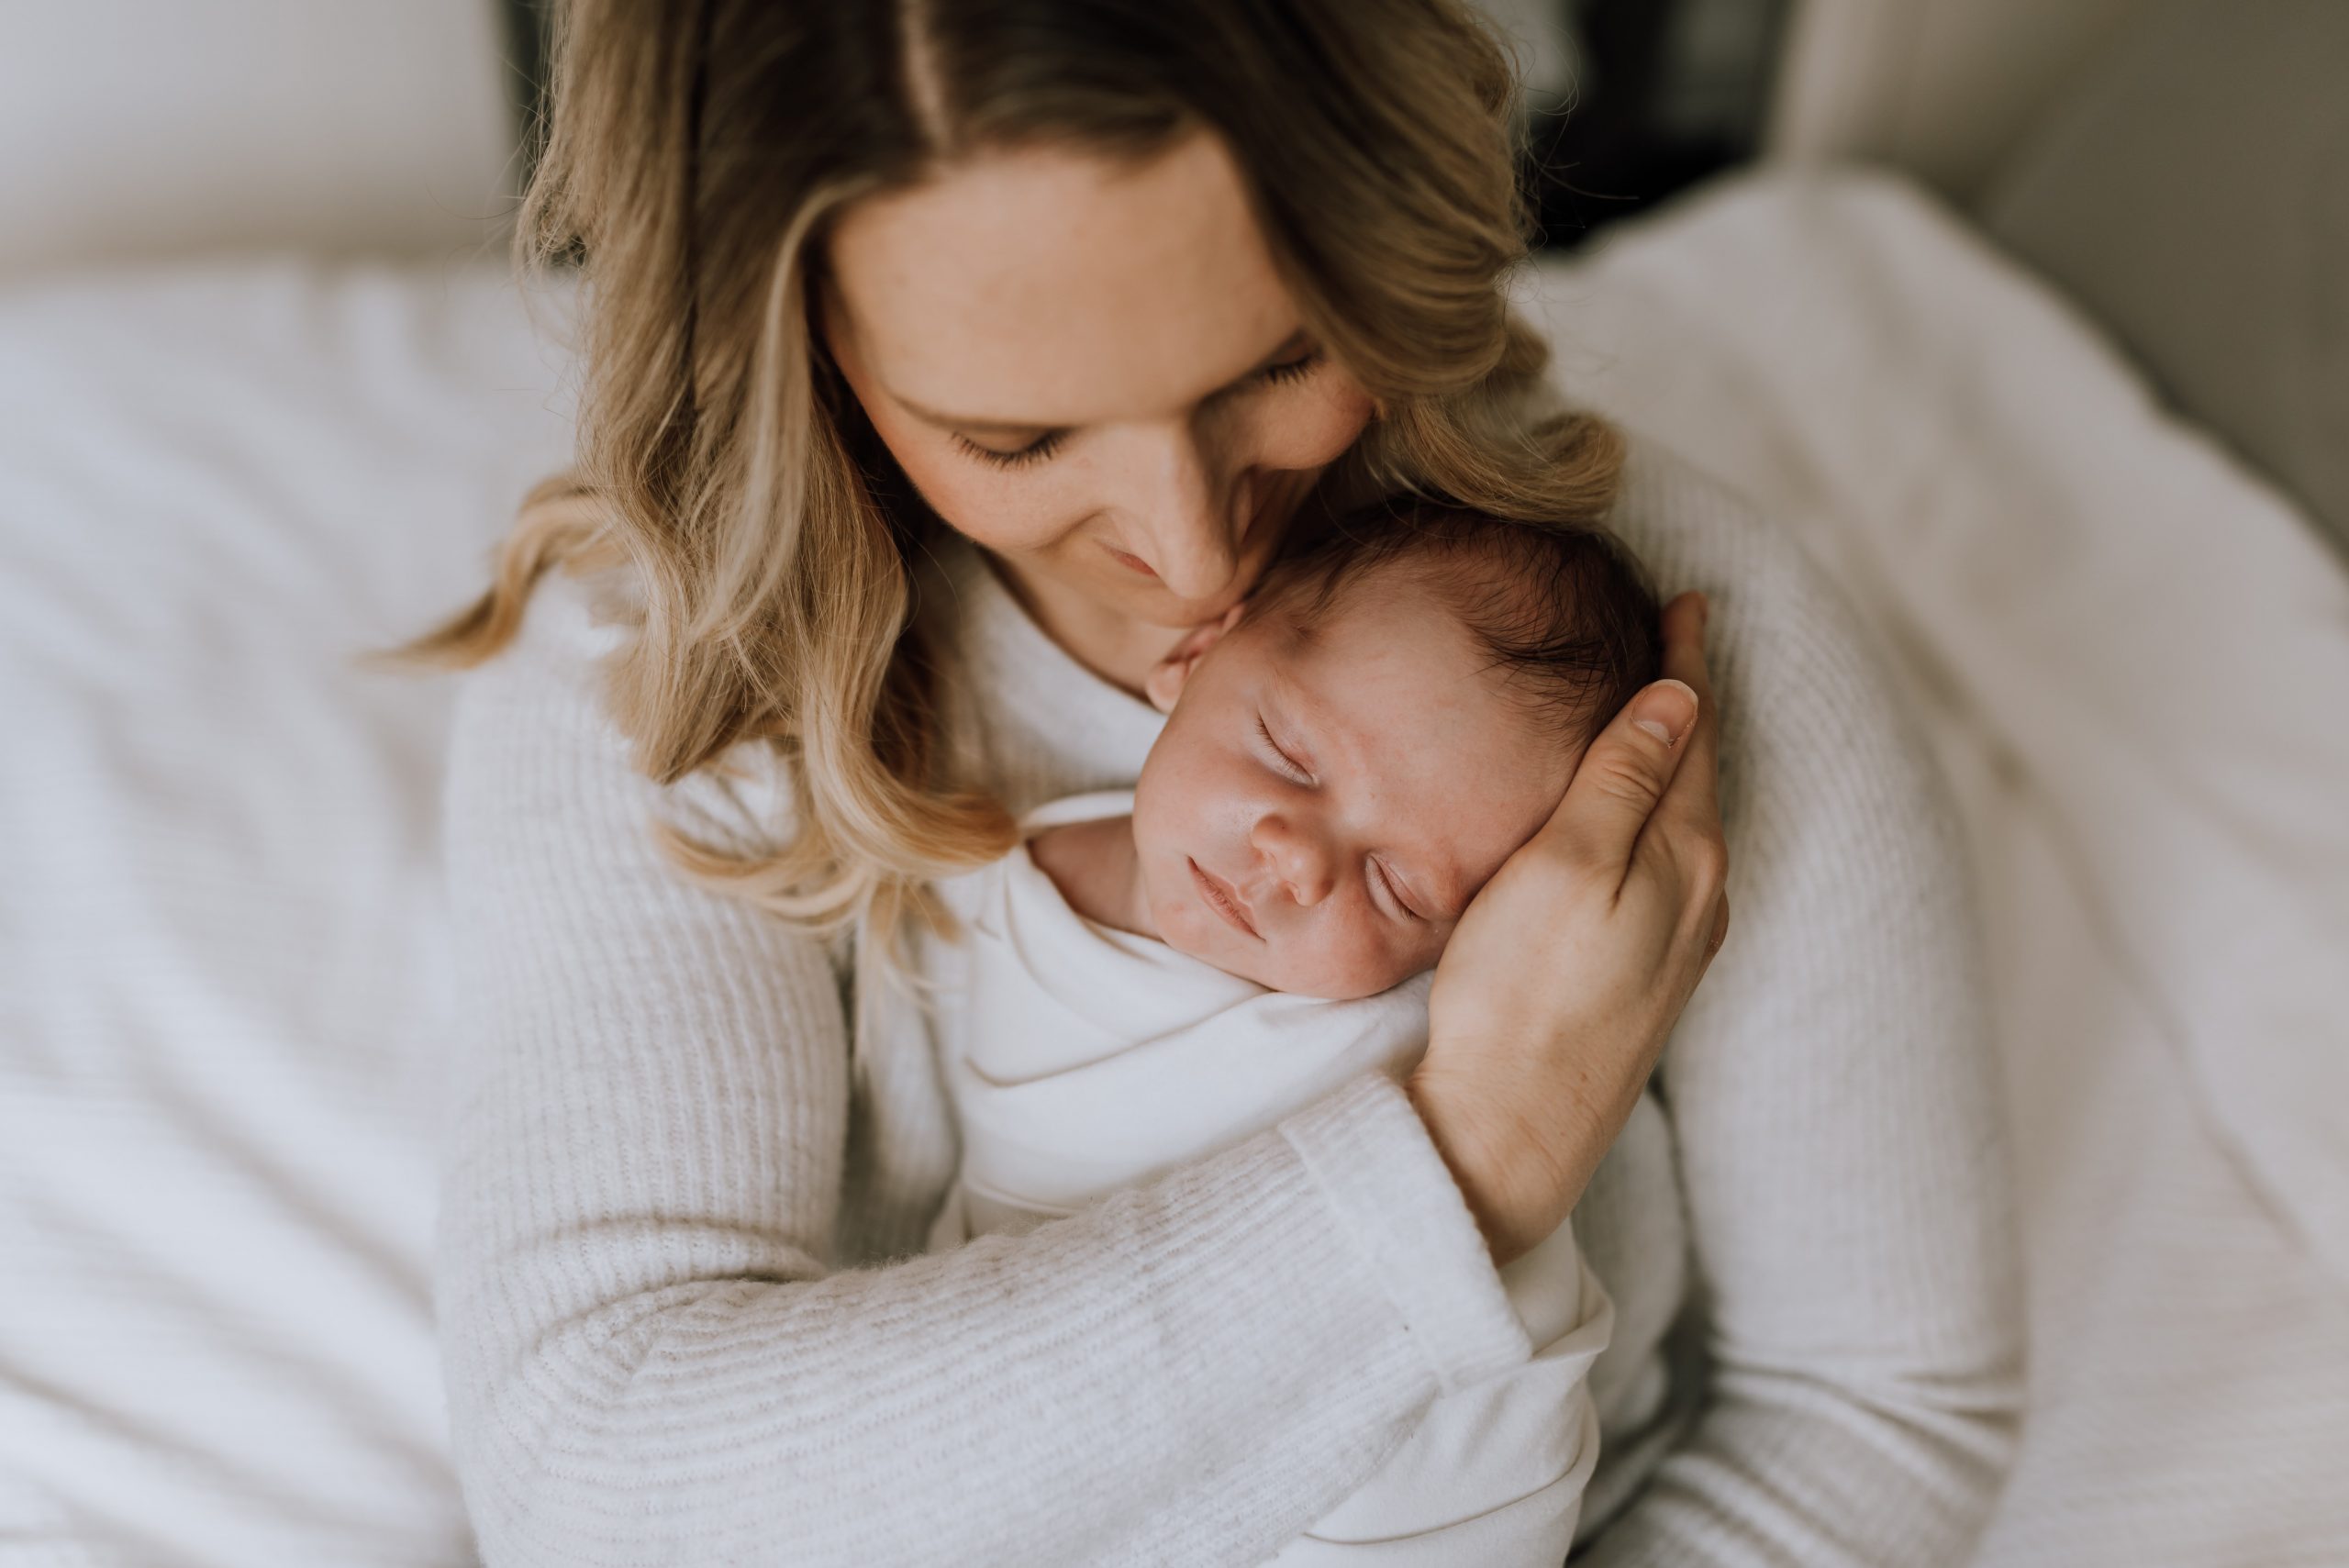
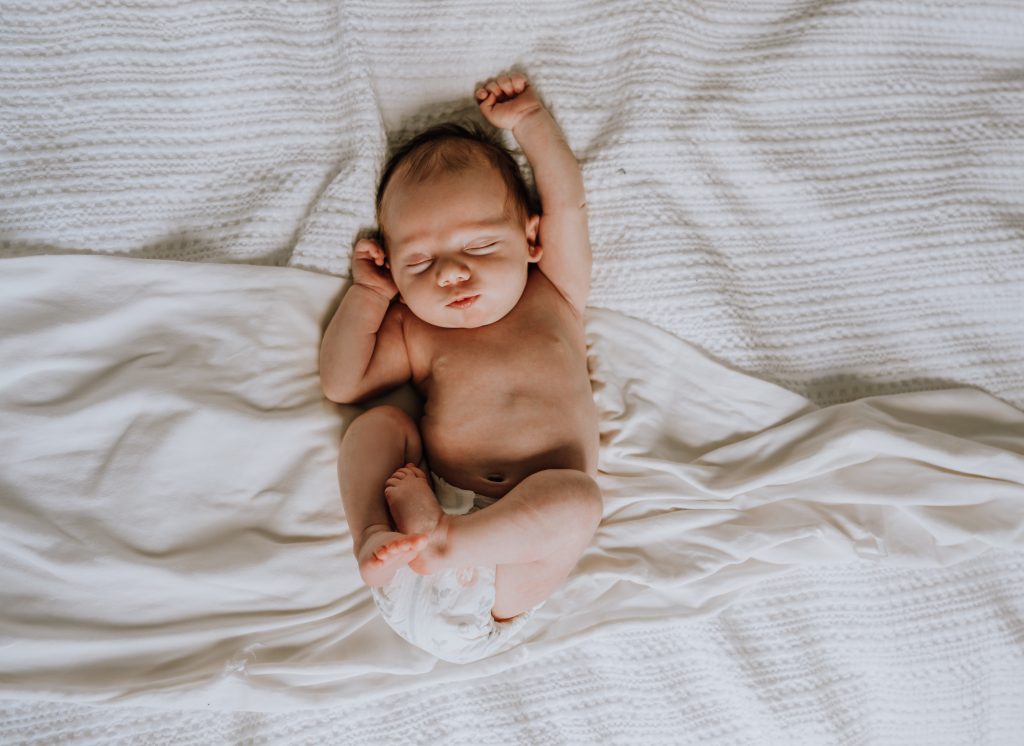
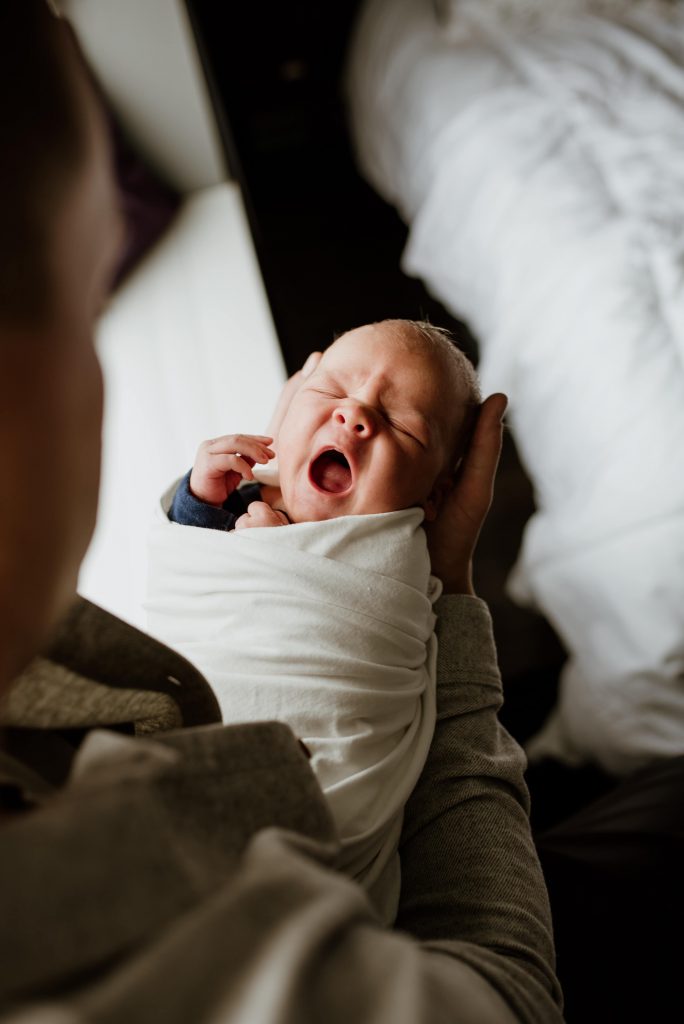
When taking photos of baby only, have their face turned towards the light source. Ideally, the light will fall on a 45 degree angle from the top of their head (as opposed to up their nose). Never shoot “up the nose”. If you are shooting on an angle, shoot slightly down the nose.
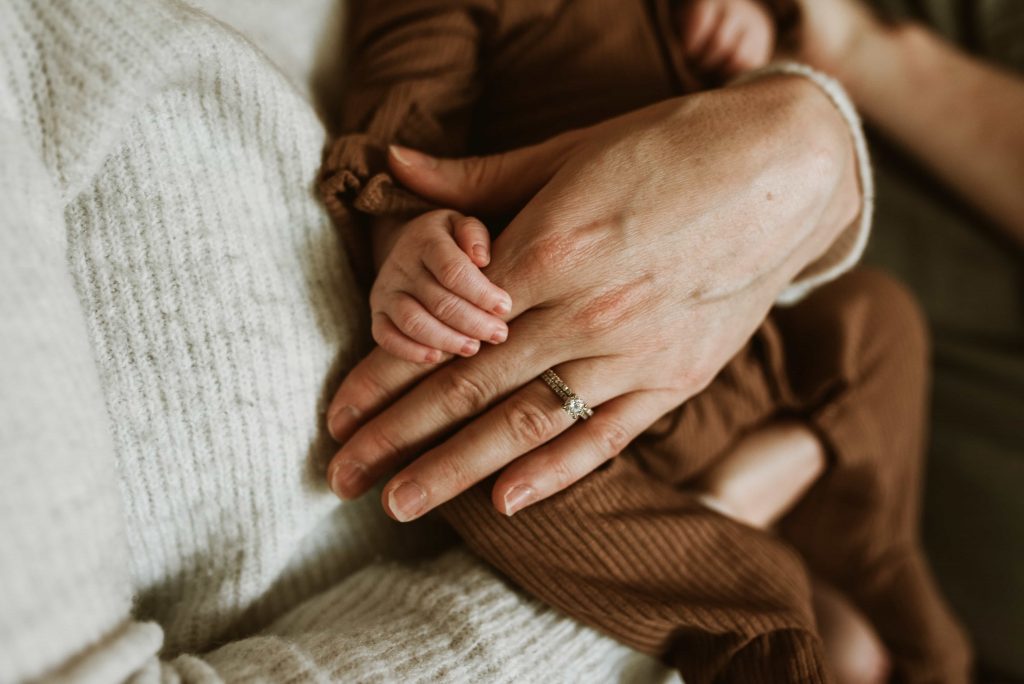
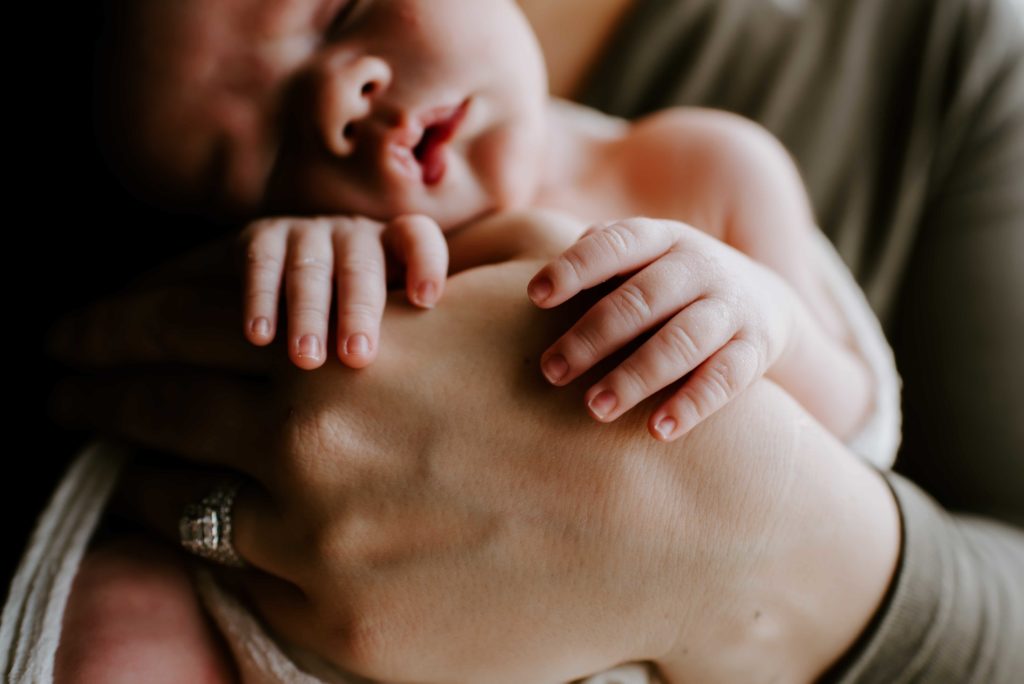
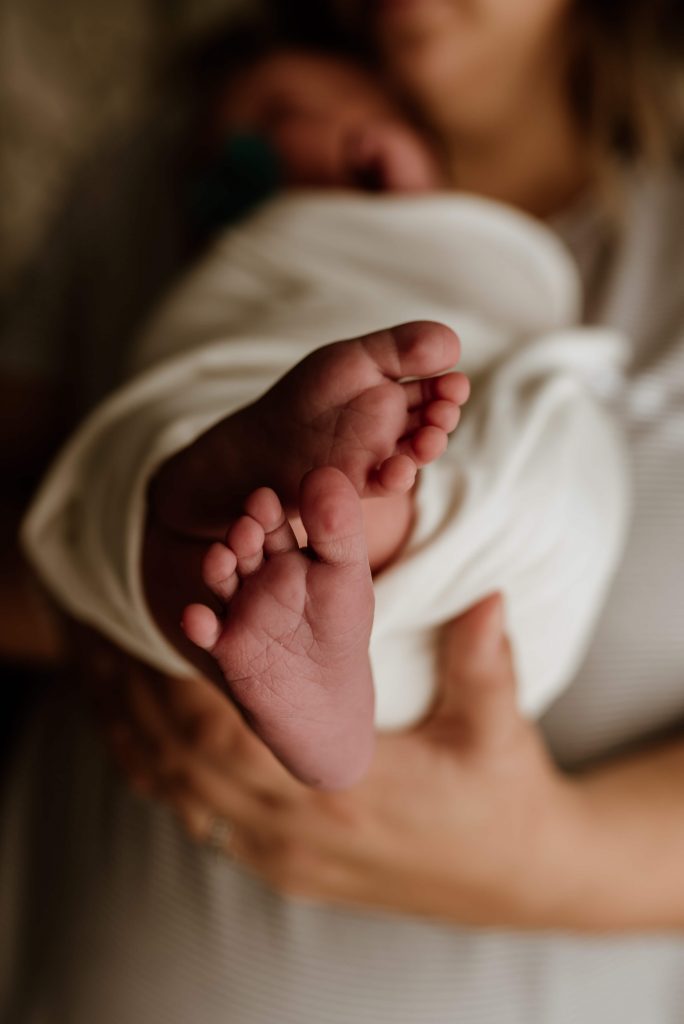
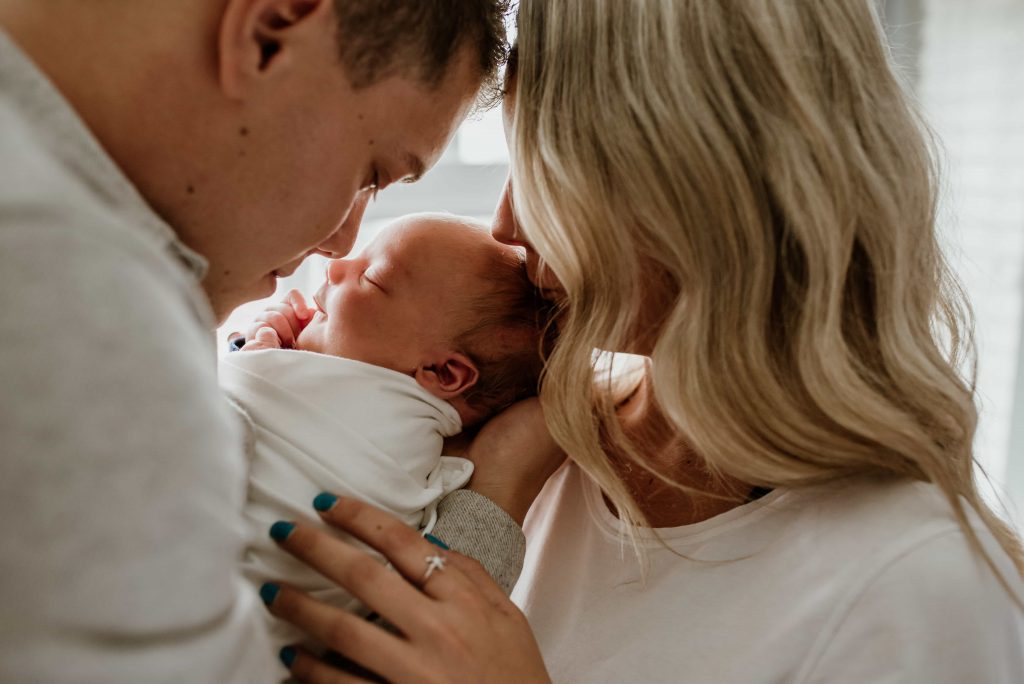
Don’t forget the little details! Some of my favorite things to capture are the sweet heart shaped lips of a newborn, their little button nose, the rolls on their wrists and tummies when they are curled up, or that little tuft of hair on their heads. You can also put their little hands or feet in yours to remember how tiny they were.
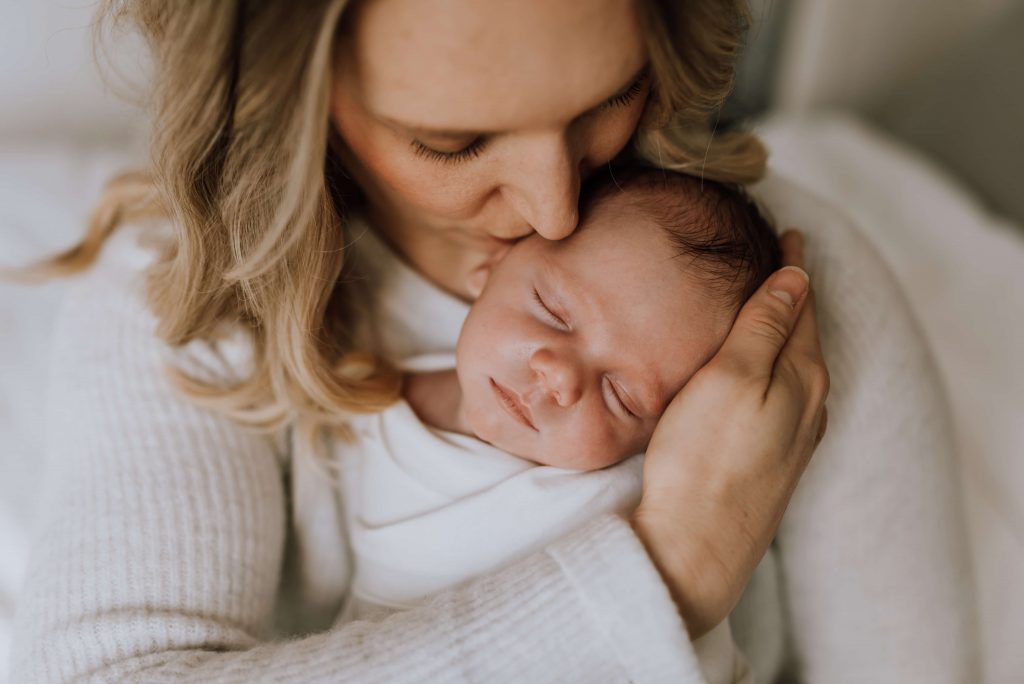
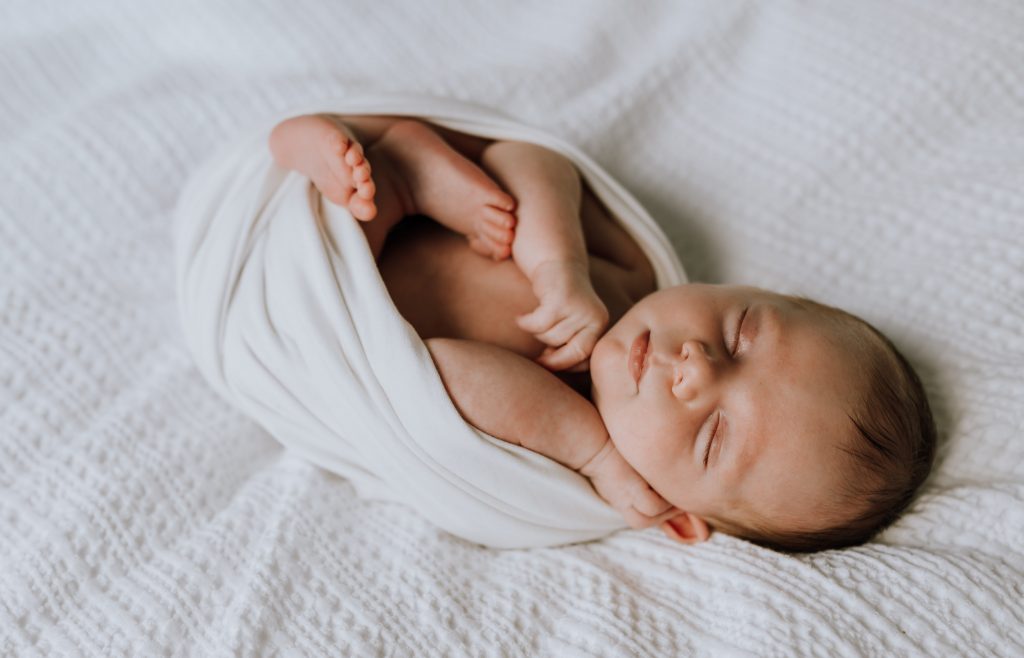
When dressing your newborn, i generally suggest neutral swaddles and onesies. If you love color, try a pretty patterned swaddle but be sure that your outfits are not competing with them (when you are in the shot). To get those cute swaddled shots, use a longer stretchy wrap such as cotton jersey or cheese cloth.
Here are 2 different videos to help you swaddle your little one:
Basic swaddle – Aden and Anais (An alternative to this swaddle for photos is to tuck baby’s feet up to their tummy before bringing the bottom of the swaddle up. Be sure not to force them, just ease them gently up).
Ideal for a stretchy wrap– Sweet Little You Photography
10. Print your photos!
Ok, so you have successfully taken your own newborn photos in your home! Congrats! In this digital age, we take so many pictures that just sit on our phones or computers. We are all guilty of this! To truly enjoy these images, please print your photos! Whether you print them for their newborn book, create an album, or print them and put them on display in your house, I promise you will get so much more joy from them when they are printed!
If you don’t know where to get prints or albums, I would be happy to help 🙂
Inspiration:
Now that you are ready to go out and take your photos, here are some of my favorites for inspiration! You can also check out my portfolio for more inspo.
You may also want to check out my blog post “How to prepare for your lifestyle newborn session” for more tips!


Leave a Reply
Flodesk
If you are looking to build an email list, Flodesk is the way to go! From beautiful email templates, to opt-in forms, and more, they make building and growing your email list easy!

get 50% off 12 months →
My fav tools & Resources
Dubsado
I use Dubsado to streamline my business, send invoices and contracts, and automate workflows for my business!

get 20% your first year →
Pictime
I use Pictime to deliver and host all my galleries. Their online store makes print sales easy, and the do video delivery!
")
Get a free month →

I am a wife, a friend, and a mother to my two beautiful boys; we have two playful pups named Charlie & Finnegan. We live in Victoria on Vancouver Island and love to explore the beautiful landscapes. Aside from photography, I am also a Registered Nurse. Every piece of my life has taught me that connection makes this world truly beautiful, and this belief inspires my work. I want to capture the raw connection and those real, messy imperfect moments in a beautifully artistic way. When we look back years from now, these images will evoke our emotions and remind us what that precious time in our lives truly felt like.


[…] If you are planning on taking your own newborn photos, be sure to check out my blog post here. […]